Project Nest! A happy front door
Once baby arrives, so do the visitors. While they probably […]
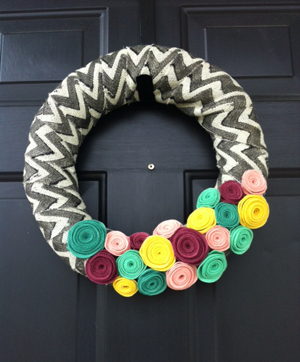
Once baby arrives, so do the visitors. While they probably couldn’t care less what your front door looks like—it’s the new addition they really want to see, after all—I always feel like a happy front door makes a great first impression for guests. And if you have some free time on your hands while you’re waiting for baby to make three (or four, or five, or … ) you could easily whip up a pretty wreath similar to this one in an afternoon, and wow your visiting friends and family members with your cheery door display.
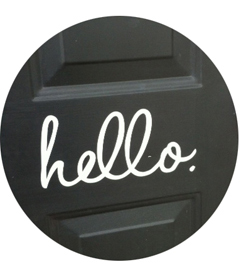
Here’s the how-to for creating a pretty door wreath (and shopping details for the friendly “hello” decal).
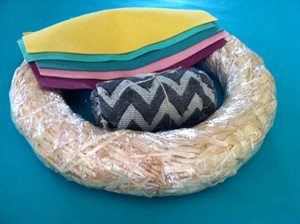
Supplies: straw wreath (craft stores) / felt (Benzie) / burlap (Hobby Lobby) / not shown: glue gun, glue sticks and scissors
Note: You could use fabric or yarn in place of the burlap, if you so desire.
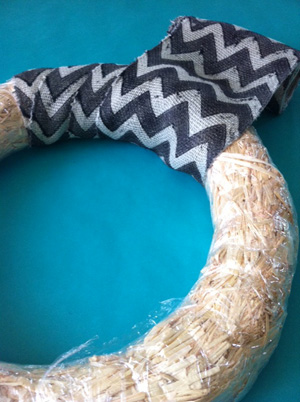
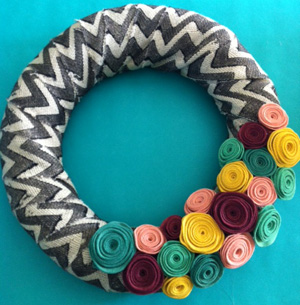
Step 1: Take your burlap and wrap it around your wreath form. Keep going until it’s completely covered, and use a bit of hot glue to secure the fabric on the back side. (If you might want to use the supplies again for something else, you could also simply pin the burlap for a temporary hold.)
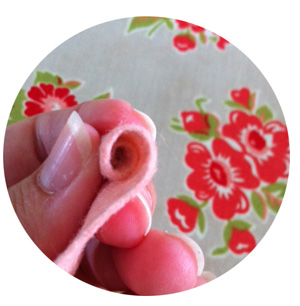
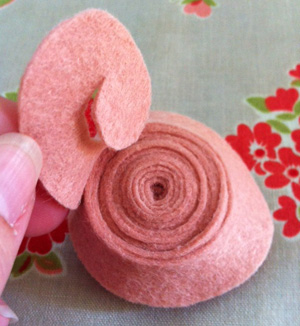
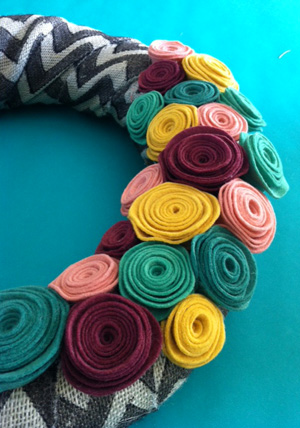
Step 2: Make your flowers! Cut a circle out of felt (I freehanded mine and varied them in size, but you could use a template for a more uniform look), and then cut the circle into a spiral shape as shown.
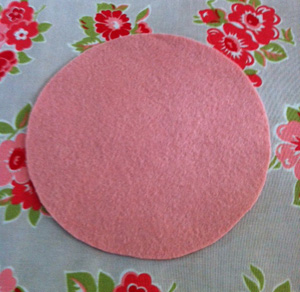
(circle)
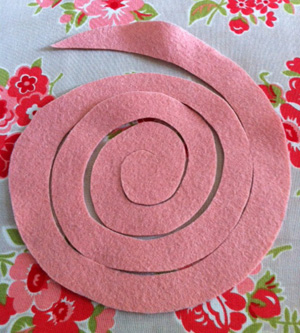

(spiral)
Step 3: Start at the end of your spiral and begin rolling the felt toward the center. (This will make more sense once you have the spiral in your hand!) I did mine fairly snuggly, but you can do it however loosely you want, depending on how full you want your flowers.
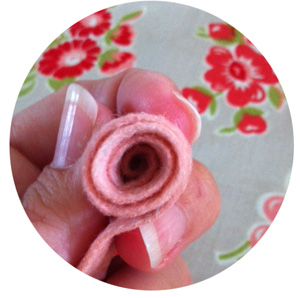
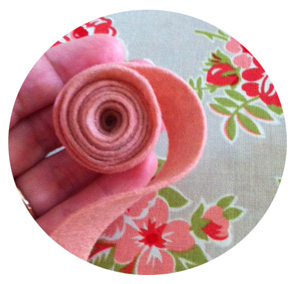
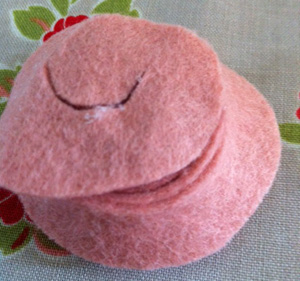
When you reach the end, you’ll have a little tab from the center of your spiral that you can just glue on to the back of your bloom.
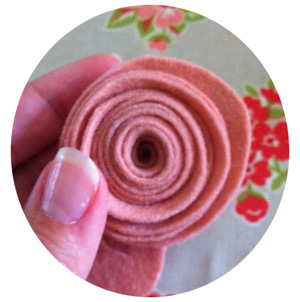
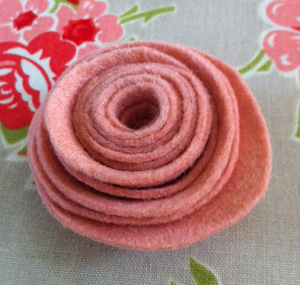
The finished product:
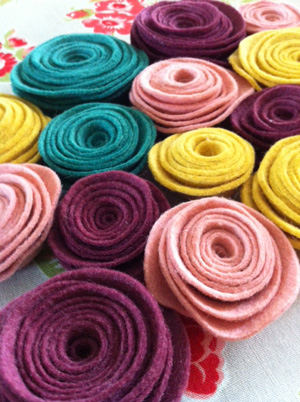
Step 4: Make lots more! The more you make, the easier and quicker they get.
Step 5: Glue your flowers right on to your wreath. (You could also use Velcro or pins, if you want to be able to reuse everything, but it will probably add significantly to the amount of time it will take you to complete the project.) I typically line mine up on the table in a pattern I like and then glue them on in that order, but I usually end up adjusting things as I go to make everything fit just right.
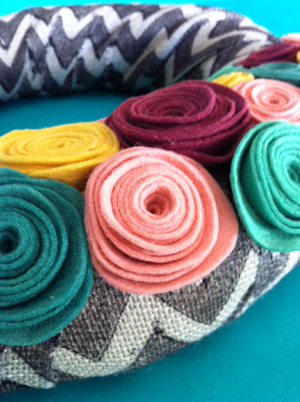
And a closeup shot …
Step 6: Let everything dry, and hang that pretty wreath on your door! I swap my wreaths out fairly regularly, so I typically don’t spray them with a weather-resistant formula, but I have heard it’s good to do if you plan to leave it up for awhile.
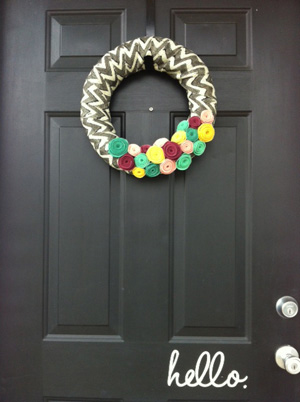
Step 7: Pretty up the rest of your space. A new doormat and an easy-grow green plant are simple, inexpensive ways to dress up your stoop. And don’t you just love that cute little “hello”? I found it on Etsy, and it was less than $10 (seriously!). I love how it brightens up the door and makes visitors feel welcome.
Happy crafting, mamas!
Related Articles