Project Nest! Straight and arrow
The Wanderlust nursery featured in our July issue is one […]
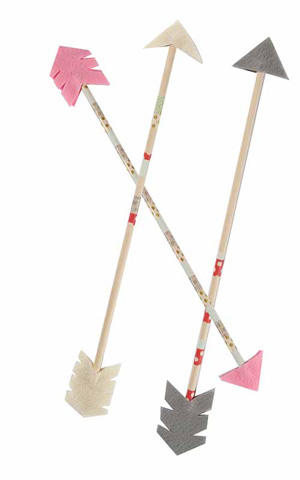
The Wanderlust nursery featured in our July issue is one of my favorites ever. But after designing it, I felt like it was missing something—it needed a finishing touch of sorts. It wasn’t long before I figured out exactly what it lacked: arrows, to hang on the walls. I looked high and low for the perfect pointers to complete my dream nursery, but I couldn’t find any that were just right for my color scheme and design. So I decided to make my own. And not only do I love them, but I think they might be one of the easiest DIYs ever.
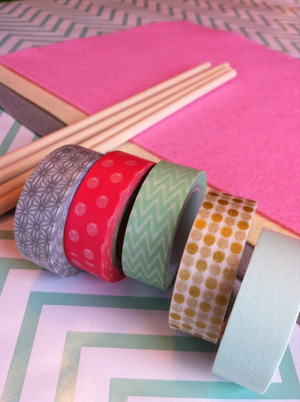
Supplies: wooden dowels (Michael’s) / felt (Benzie) / washi tape (Wishy Washi Tape)
The really simple steps:
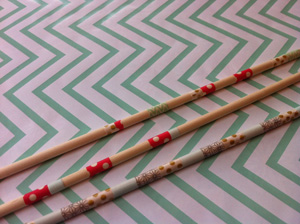
1. Wrap tape around your dowels, neatly cutting the ends so they line up well.
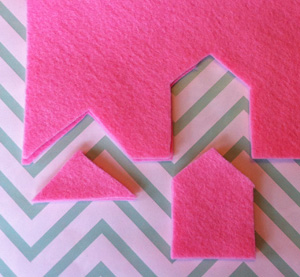
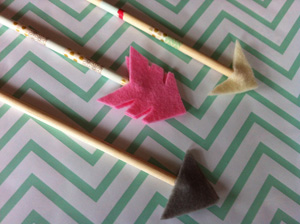
2. Cut out a triangle shape for the point of your arrow, and a “feather” shape for the end. (Note: I created my template—which I just drew freehand on a piece of cardstock—with straight edges and individually cut out the notches in the next step.) You’ll need two matching pieces for each end.
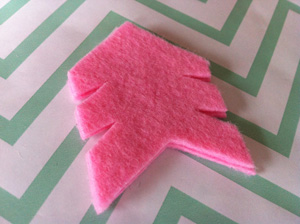
3. Hold your two feather pieces together and cut out their notches at the same time, so they will match up well on the finished product.
4. Using hot glue, fabric glue, or whatever kind of glue you have on hand, adhere the two matching pieces of felt together around the end of the stick. You’ll do this twice—on one end for the point, and on the other end for the feather.
5. Repeat the above until you have the number of arrows you want. Easy, right?
And so cute! Happy crafting, mamas!