Project Nest! Nursery DIYs
If you’ve picked up a copy of our April issue, […]
 If you’ve picked up a copy of our April issue, you might’ve noticed a few of our favorite nursery DIYs on page 98. Here, we’ll show you step-by-easy-step instructions for making them part of your own home.
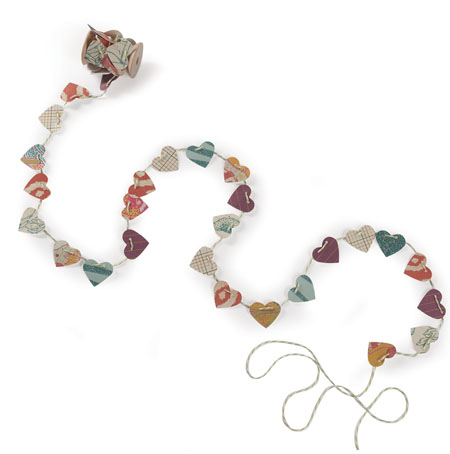
Project one: Paper garland
Cost: Only a few dollars if cutting by hand; a little more if purchasing a paper punch.
Total time: Less than an hour.
Supplies:
- Scrapbook paper or cardstock
- Paper punch or scissors
- Large needle
- Twine or string

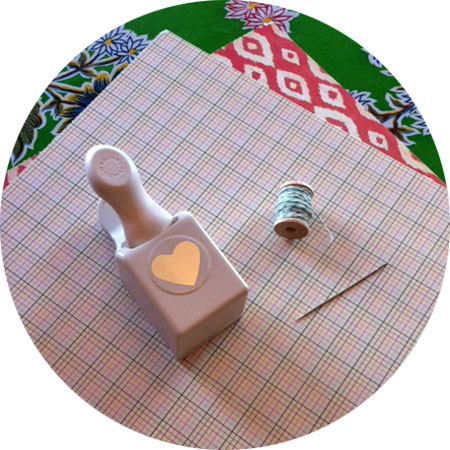
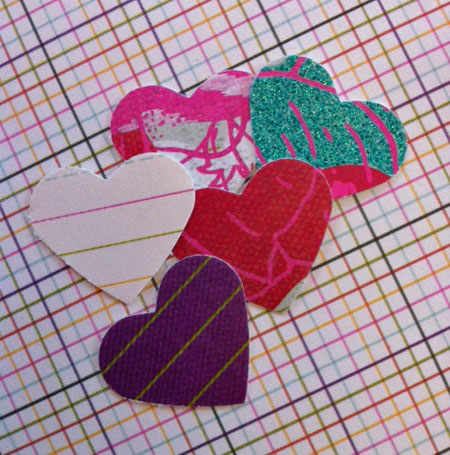
Step 1: Punch out your shapes! I had a heart punch from an old Valentine’s Day project, so I used that, but you could do any shape—triangles, circles, diamonds. If you don’t have a punch for your shape, just use the old trace-and-cut method (or, if you like things to be not-so-uniform, just freehand the shapes as you go).
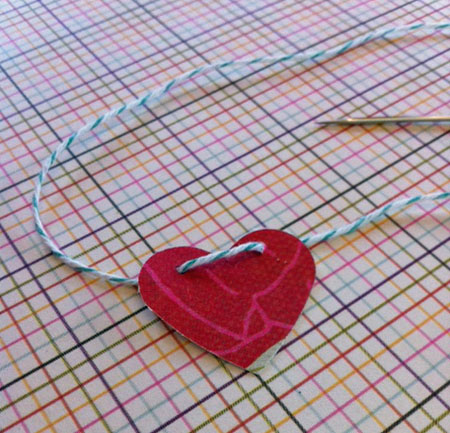
Step 2: Thread your twine or string onto a large needle, and begin stringing your garland.
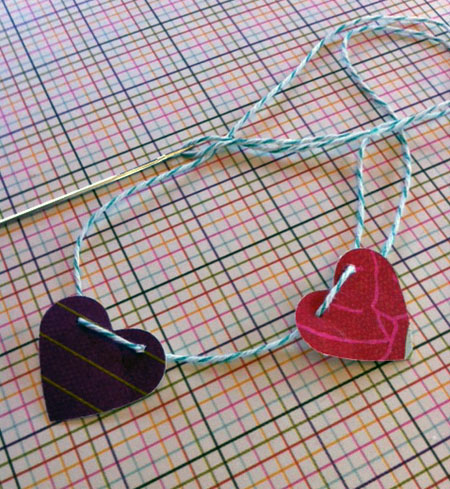
And that’s it! It’s a super simple way to add some decoration to baby’s space, and it’s completely customizable: choose your shape, choose your colors (just one color or an ombre effect from paint samples would also look great!), and have some fun getting crafty.
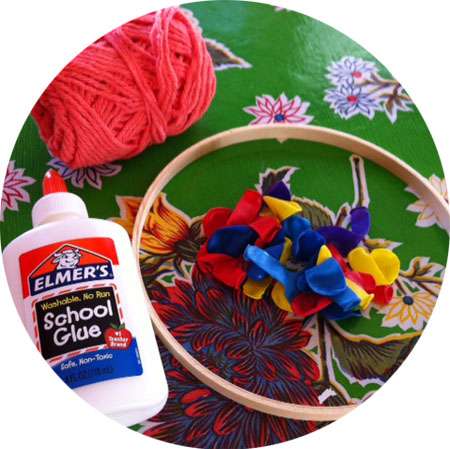
Project two: Yarn mobile
Cost: $12 as shown (the less yarn you use, the less it will cost—and an all-white mobile could be downright gorgeous).
Total time: 2-3 hours, plus overnight drying time.
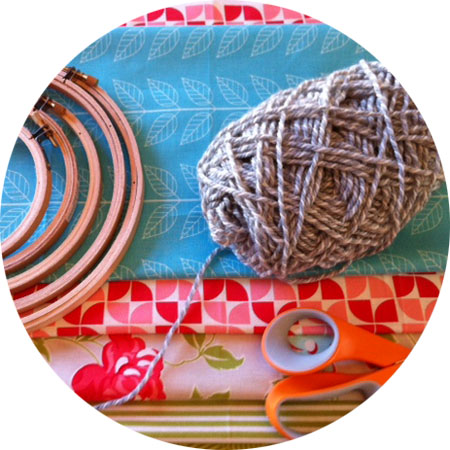
Supplies:
- Yarn
- Embroidery hoop (just the inside ring)
- Elmer’s glue
- Balloons
- And old/disposable bowl (not shown)

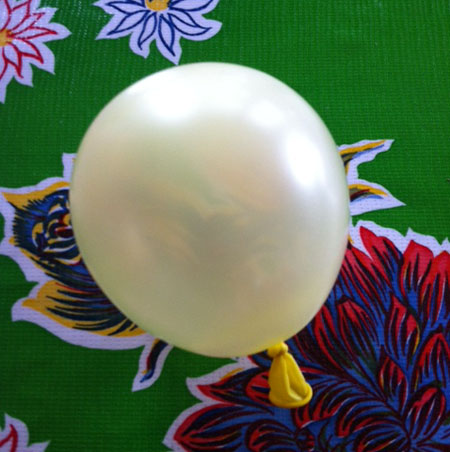
Step 1: Blow up your balloons to your preferred size. I wanted to keep mine pretty small—and wanted a good “round” shape, rather than an egg—so I used water balloons. (I filled them with air instead of water, though, of course.)
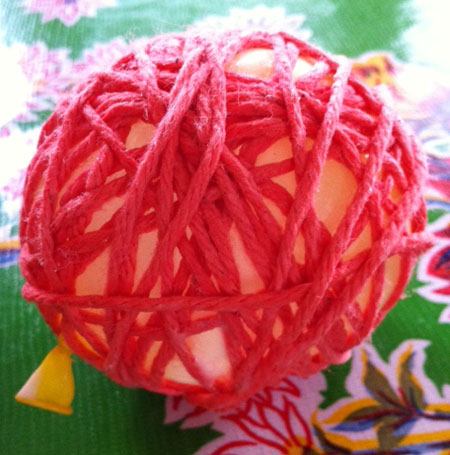
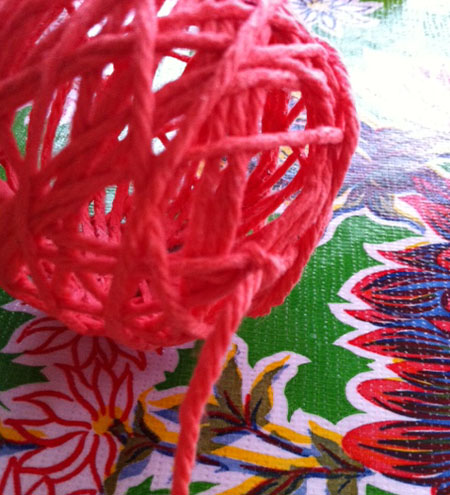
 Step 2: Pour some glue in your bowl. Beginning with one end of your yarn (don’t cut it into a string—keep it rolled up so you have one continuous piece), dip the yarn into the glue, rubbing it in and coating it well; then begin wrapping it around your balloon. It should stick nicely thanks to the glue. (Your hands will be all nice and sticky too, but since it’s just Elmer’s, it should wash off pretty easily.)
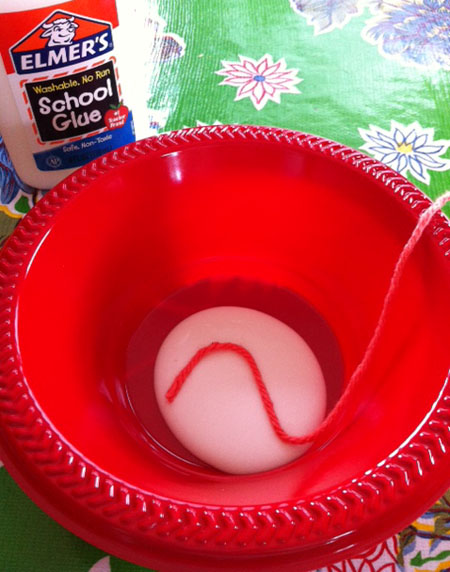
Keep wrapping until you’re happy with your coverage. Make sure that you’re using plenty of glue and that the yarn is sticking to the balloon well!
 Step 3: Allow your yarn/balloons to dry overnight. The yarn should be very stiff to the touch. Using a needle, pop the balloon …
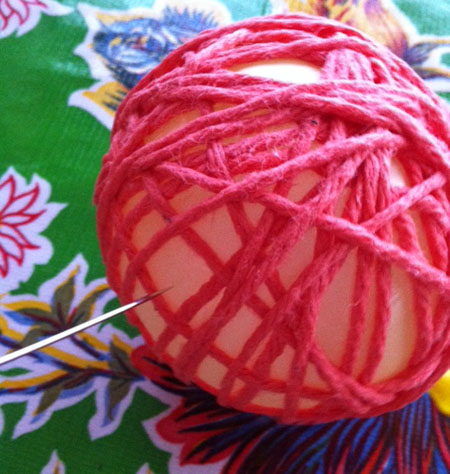 and then wait patiently while it separates from the yarn. (It’ll take a few minutes!) Tip: Hold onto the bottom of the balloon when you pop it, and it will be easier to pull the whole thing out in one piece.
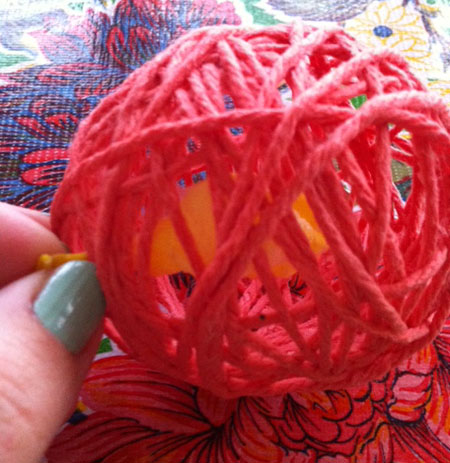 Step 4: Here’s what you’ll have now: a stiff ball-shaped object made from yarn. 🙂
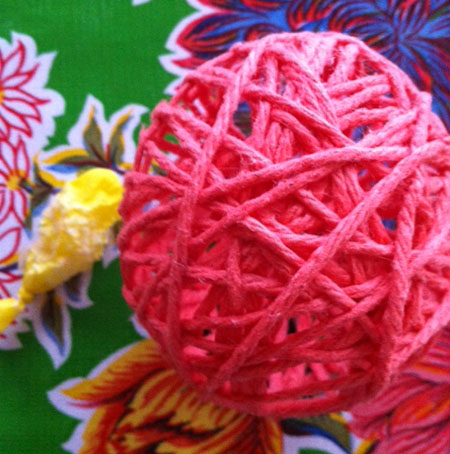
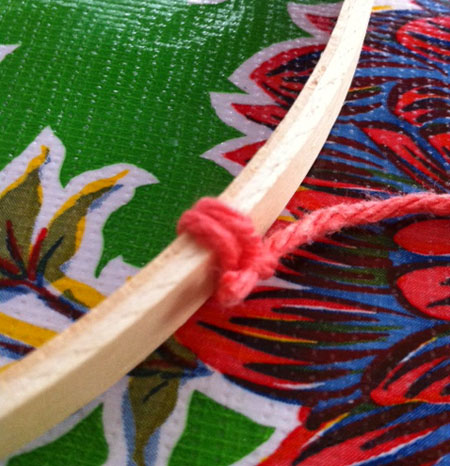
Step 5: Cut long pieces of yarn to hang your balls from the hoop. (You’ll want to measure your yarn before tying to make sure it’s the length you want.) Secure one end of the string to the ball and the other to the hoop. I used a simple double knot on both ends. Your yarn ball should be fairly sturdy, but do work gently while tying the knot.
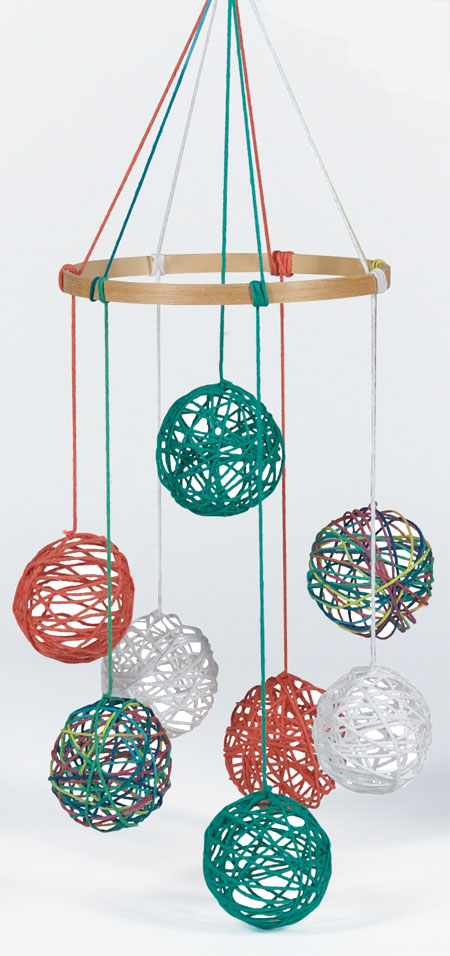
 Step 6: Do the same with all your other strands! You can use more yarn or fishing wire (if you want something clear) to connect the mobile to the ceiling. (Hanging it on a simple hook is probably the easiest route.) It will look great over baby’s crib or changing table, but make sure it’s out of baby’s reach since it’s a decoration, not a toy. Enjoy your masterpiece.

 Project three: Fabric fanciness
Cost: Varies.
Total time: Only a few minutes.
Supplies:
- Fabric scraps or fat quarters
- Embroidery hoops
- Sharp scissors
- Yarn
- Hot glue gun (not shown)
- Felt and embroidery thread, for embellishments (optional)
Fabric c/o Moda
Step 1: Choose your fabrics. Fat quarters and scraps work great, but keep in mind that you can use just about anything: sheets from thrift stores, old clothes, whatever. Make sure your fabric is clean, and iron it if you’d like.
Step 2: Place your hoop on top of your fabric to gauge the size you’ll need.
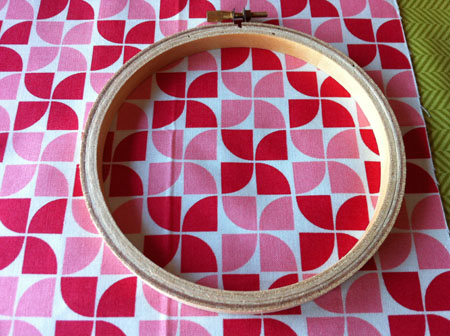
(As you can see, I didn’t iron mine, because I figured I could just pull it tight enough to stretch out any wrinkles. This might not work for perfectionists, though!)
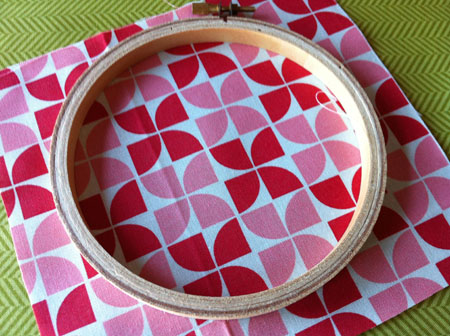
Step 3: Cut your fabric so there are a couple of inches outside the hoop in all directions. (I left mine square and will cut off the corners in a few minutes.)
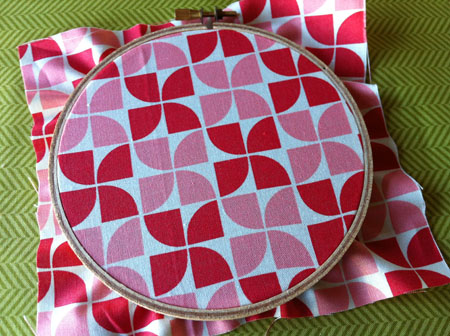
Step 4: Separate your hoop and put the fabric between the pieces; slide the pieces together, tighten the hoop using the knob at the top, and tug on your fabric in all directions to tighten it even more.
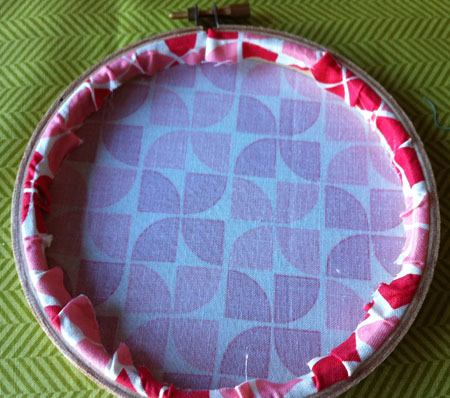
Step 5: Flip your hoop over and cut off any excess fabric, leaving just enough to glue down to the hoop.
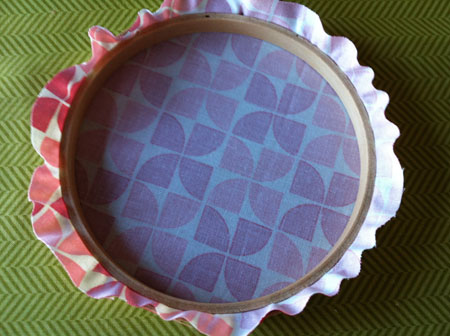 Step 6: Use your hot glue gun to adhere the fabric to the inside of the hoop.
Step 7: Embellish, if you’d like! Cut out felt shapes and hand sew them on, spell out baby’s name in felt letters, add a few “flower” buttons, glue on an old lace doily. The best thing about hoop art is that it’s easy enough for anyone to do, and it adds a lot of character to a space. Go crazy!
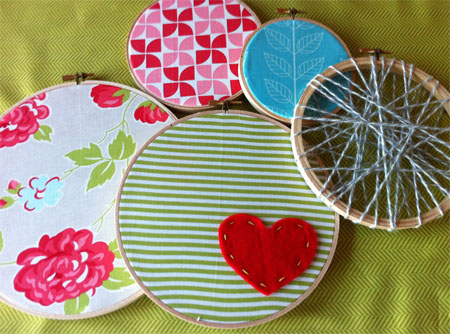
Bonus: Creating a “web” hoop from yarn is just as easy as the fabric ones: Simply hot glue one end of your yarn to the inside of the hoop (between the two pieces), and then wrap the yarn around the outside to your heart’s content.

Hoops not your thing? Framed fabric makes a gorgeous display. Choose your favorite pieces, give them a good run under the iron, and carefully secure then to the inside of the frame (hot glue is good for permanent placement, but just tape will work if you want the option to change it up in the future). Dress up thrift or dollar store frames with a coat of spray paint!